Great question! You’re not alone – figuring out how high to hang a pendant light (or how to space a few of them) is one of the most common design dilemmas. You bring home this gorgeous fixture, only to realize it either feels like it’s hovering way too close to your dinner plate or floating awkwardly high above the table. We’ve all been there.
Proper placement isn’t just about looks—it’s about creating a space that feels balanced, comfortable, and practical. The right height and spacing make your dining room feel put together and polished, while still letting the light do its job.
Here’s the tricky part:
- Hang it too low, and suddenly you’re ducking around the pendant just to make eye contact with someone across the table.
- Hang it too high, and it loses its connection to the dining table altogether—it feels like it belongs to the ceiling, not the meal below.
- Space pendants wrong, and you’ll either get an awkward cluster that feels heavy, or gaps that leave parts of the table in shadow.
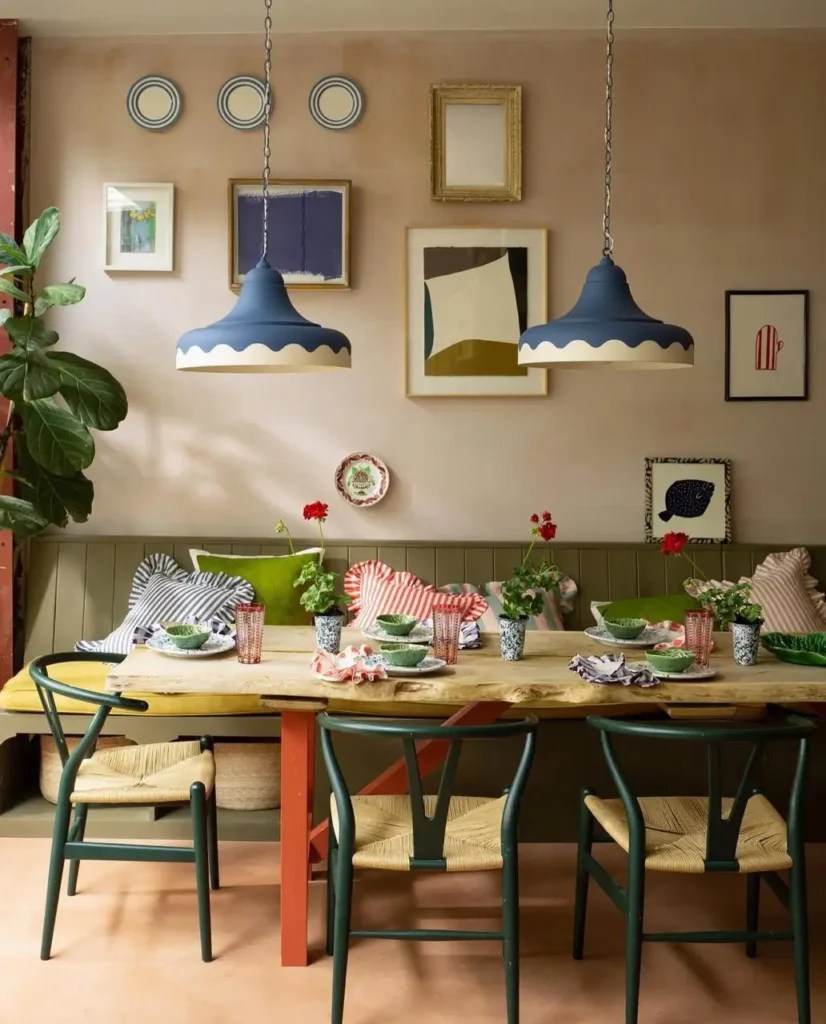
Image Credit: littlegreene Light: davidhuntlighting
When you strike the right balance, though, everything just clicks. The pendant frames the table beautifully, conversations flow without distraction, and the room feels warm and inviting—exactly what you want for a dining space.
The Golden Rule for Height
So how high should your pendant light hang? The sweet spot is usually 28–34 inches from the tabletop to the bottom of the fixture. Think of this as the “Goldilocks zone”—not too low, not too high, just right for most dining rooms.
Why this range works: it’s close enough to anchor the light visually to the table (so it doesn’t feel like it’s floating randomly in the air), but high enough to keep conversations and sight lines clear. It also spreads the light evenly across the table without creating glare.
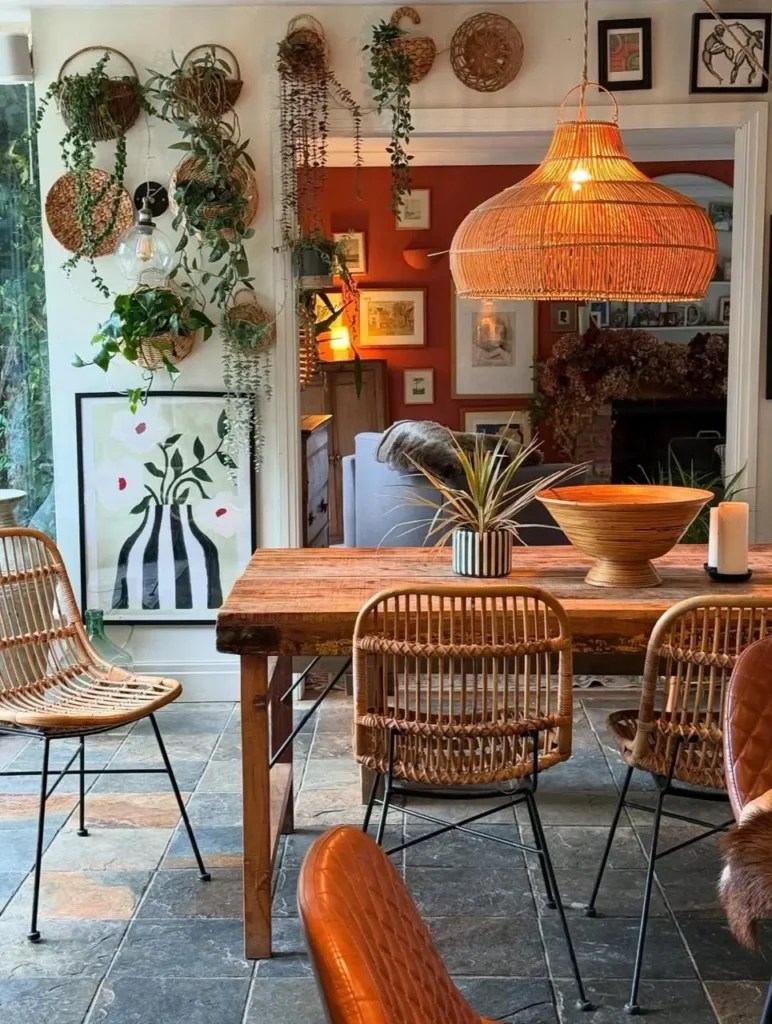
Image Credit: pandoralifestyling
But here’s where nuance comes in:
- If you have taller ceilings (9 feet or higher): You can cheat a little higher—closer to 34–36 inches. This keeps the proportions feeling balanced so the pendant doesn’t look like it’s dangling in the middle of a tall, empty space.
- For smaller tables or cozier dining nooks: Lean toward the lower end of the range (28–30 inches). This creates a more intimate feel, almost like the light is pulling the dining area in and making it feel warm and inviting.
- For large, dramatic spaces: A slightly higher placement can help make sure the pendant feels in scale with the room rather than too low and heavy over the table.

Image Credit: damaandwood 📷 rikkisnyder
A quick visual test you can do at home:
- Stand up next to your table. The bulb should never be glaring directly into your eyes.
- Sit down at the table. The pendant should frame the space beautifully without blocking your view of the person sitting across from you.
If you’re still unsure, grab a friend and a tape measure. Raise and lower the light (or even hold it with painter’s tape/string if it’s not installed yet), then sit down and look across the table. The right height usually becomes obvious once you test it out in real life.
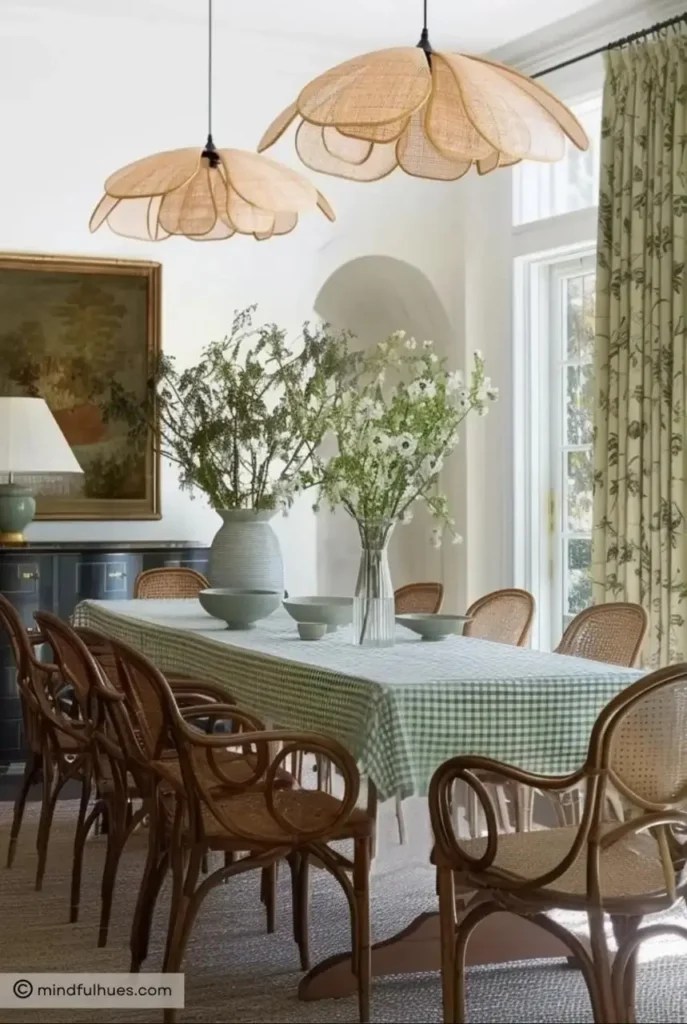
How Many Pendants & How to Space Them
This is another big question I hear all the time: “Do I need one pendant or two? And how do I know how far apart they should be?”
The answer really depends on the size and shape of your dining table. Let’s break it down.
👉 One pendant light
If your table is square, round, or even a modest-sized rectangle, a single pendant is usually enough. Just make sure you center it directly above the table (not the room—sometimes the table isn’t perfectly centered in the space, so always go by the table).
- Sizing tip: Pick a pendant that’s at least 12 inches narrower than your table. For example, if your table is 40 inches wide, look for a pendant that’s no more than 28 inches in diameter. This ensures the light feels proportional and doesn’t hang awkwardly over the edges.
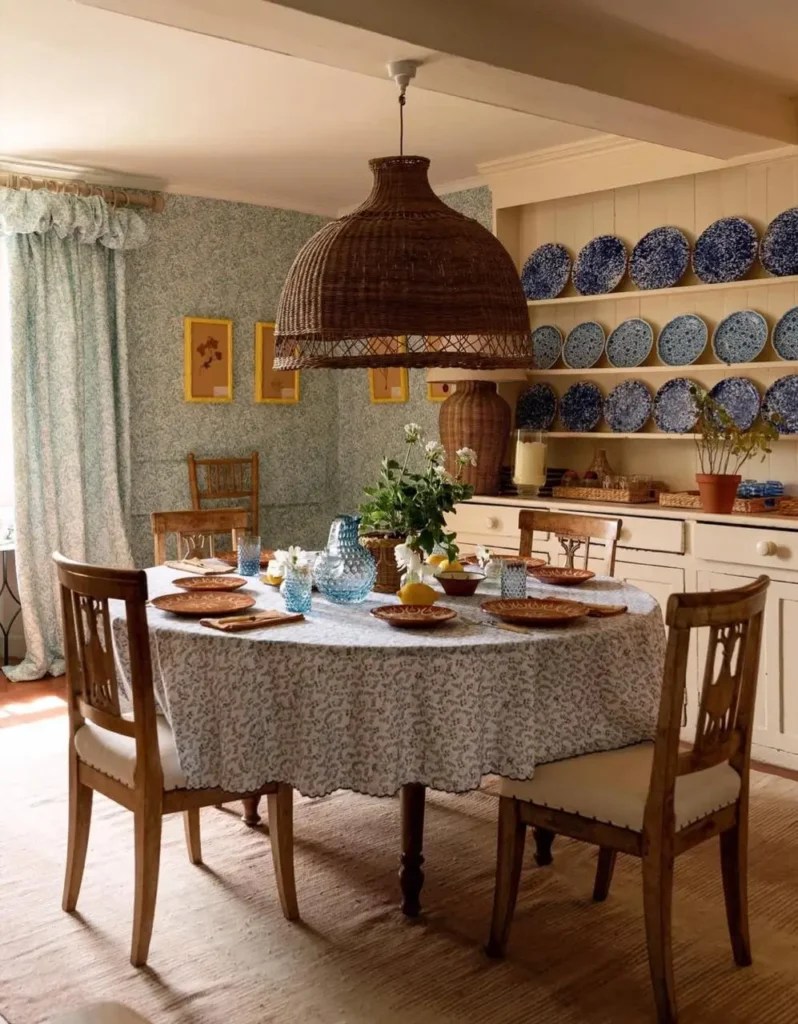
Image Credit: louiseroehome
👉 Two pendant lights
For longer rectangular tables, two pendants often work better than one oversized fixture. They give more even light and visually balance the table.
- Spacing rule: Leave about 24–30 inches of space between the edges of the pendants. This keeps them from crowding each other while still covering the whole table evenly.
- My Tip: Measure your table length, subtract the combined width of your pendants, and then divide the remaining space into three equal sections—the pendants go in the middle sections. This ensures everything feels symmetrical.
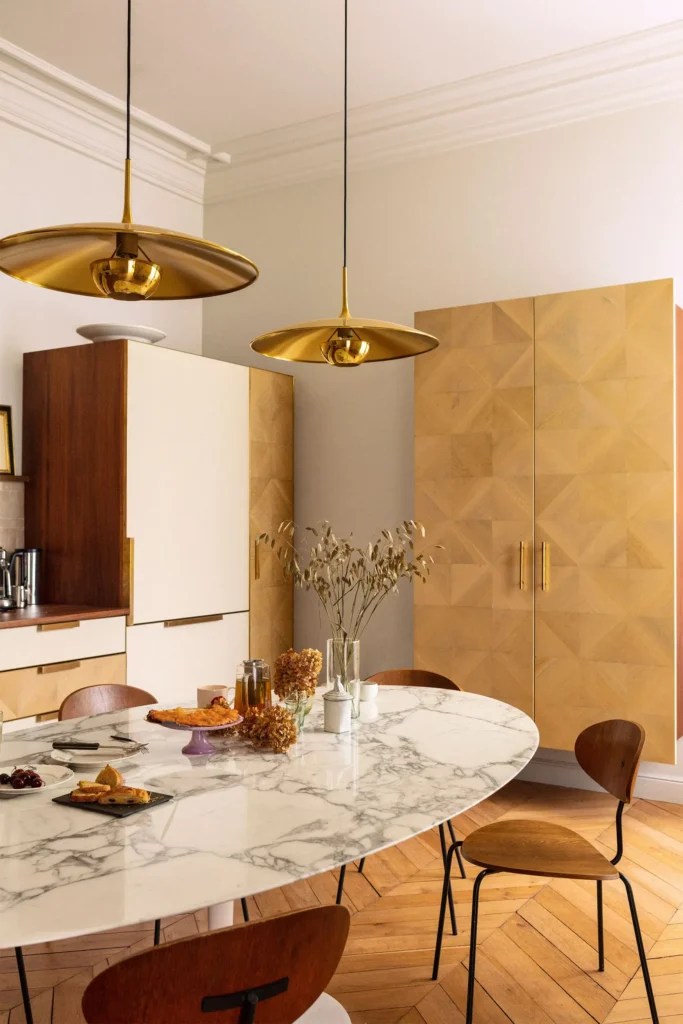
Image Credit: elledecor
👉 Three or more pendants
If you’ve got a really long table (or you want a bold, statement-making look), three or more pendants in a row can be stunning.
- The easiest way to get the spacing right is to divide the length of the table into equal sections and center a pendant in each one. For example, with a 96-inch table and three pendants, place them about 32 inches apart, evenly spaced across the table.
- This creates a rhythm across the table so the pendants look intentional rather than randomly placed.
👉 Pendant clusters
If you’ve been scrolling Instagram or Pinterest lately, you’ve probably seen this look: multiple pendants grouped together at varying heights, almost like a chandelier but with a modern feel. Clusters are less about strict measurements and more about creating a sculptural, eye-catching centerpiece over the table.
When they work best:
- Round or square tables → Clusters echo the shape beautifully and create a focal point right in the middle.
- Small dining spaces → Instead of one large fixture, a cluster of smaller pendants can feel lighter while still making a statement.
- Statement dining rooms → Clusters double as art, pulling your eye upward and adding drama.
How to get the spacing right:
- Think of the cluster as one “visual unit.” The whole group should stay within the middle two-thirds of the table width, so it doesn’t spill awkwardly over the edges.
- If you’re mixing heights, keep the lowest pendant around the same guideline height (28–34 inches above the table) and let the others float above it.
- For symmetry lovers: hang pendants at equal heights within the cluster. For a more relaxed, artistic vibe: stagger them in 3–5 inch increments
Size tip: Clusters look best with smaller pendants (8–12 inches in diameter). The beauty is in how they work together — think of a cluster as a team of smaller pendants creating one statement, not pieces of one oversized fixture.
In plain terms: You want your pendants to “cover” the dining table with light, without looking cluttered or leaving dark gaps. If you imagine a soft pool of light under each pendant, they should slightly overlap without competing.
Quick trick: When in doubt, mock it up! Use string or paper cutouts to visualize how the pendants will look as a group before committing to drilling multiple holes in your ceiling.
What Size Should the Pendant Be?
This is where a lot of people get tripped up. You fall in love with a gorgeous pendant online, but when it arrives, it’s either way too small and looks awkward—or it’s so big it feels like it’s swallowing the table.
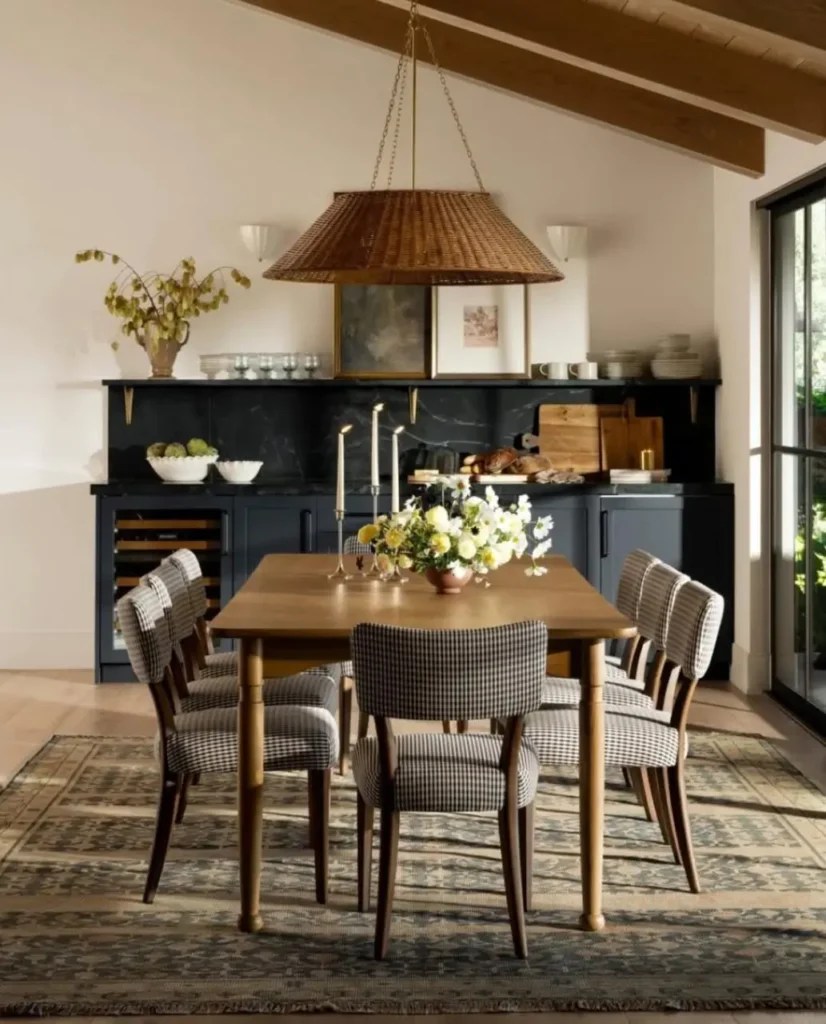
Image Credit: studiomcgee
Here’s the simple rule of thumb: your pendant’s diameter should be no more than half the width of your dining table.
That keeps the light proportional to the table and the room. It feels intentional without overwhelming the space.
For example:
- If your dining table is 40 inches wide, aim for a pendant that’s no larger than 20 inches across.
- If your table is 60 inches wide, you can comfortably go up to a 30-inch pendant.
It’s all about balance. A pendant that’s too small will get lost above a big table, and one that’s too large will look like it’s pressing down on the space.
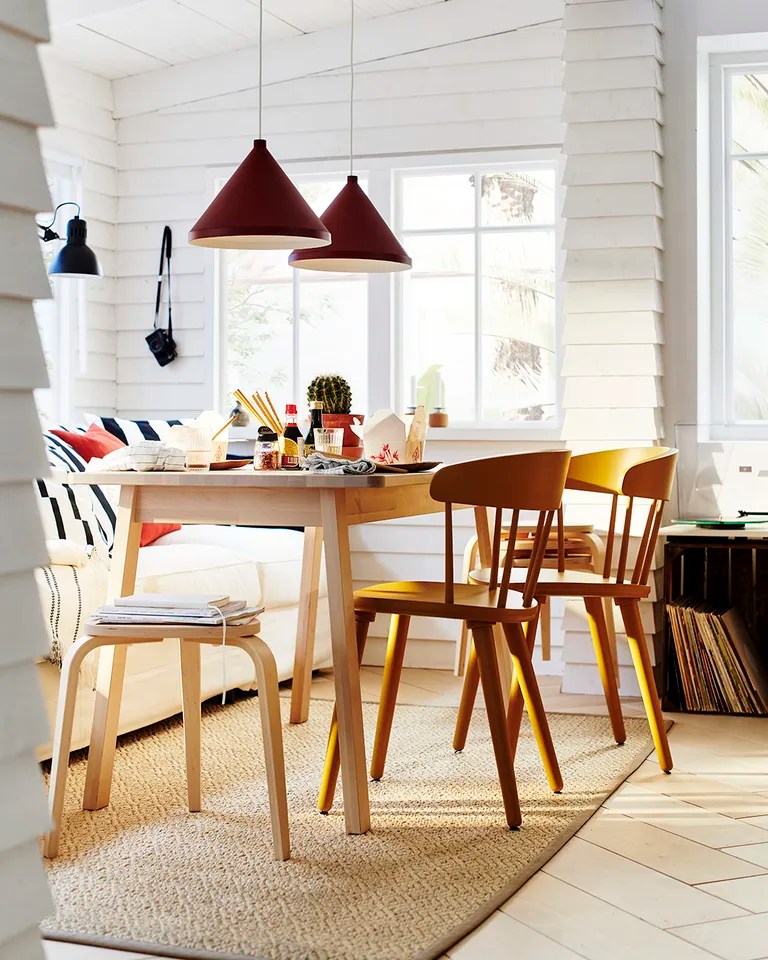
Image Credit: ikea
For long rectangular tables:
One oversized pendant in the middle can look heavy and leave the ends of the table in shadow. In this case, it’s often better to go with two or three smaller pendants evenly spaced across the length of the table. Or, if you love a streamlined look, a linear chandelier-style fixture that runs the length of the table can be a beautiful solution.
For clusters:
If you’re drawn to the trendy “clustered pendant” look, think smaller. A group of petite pendants (usually 8–12 inches wide) hung together works better than oversized shades. The cluster should read as one cohesive unit that feels proportional to your table.
My tip for visualizing size before you buy:
Cut out a circle from newspaper or cardboard that’s the same diameter as the pendant you’re considering. Hold or tape it above your table at the recommended height. You’ll instantly see if it feels right—or if you need to size up or down.
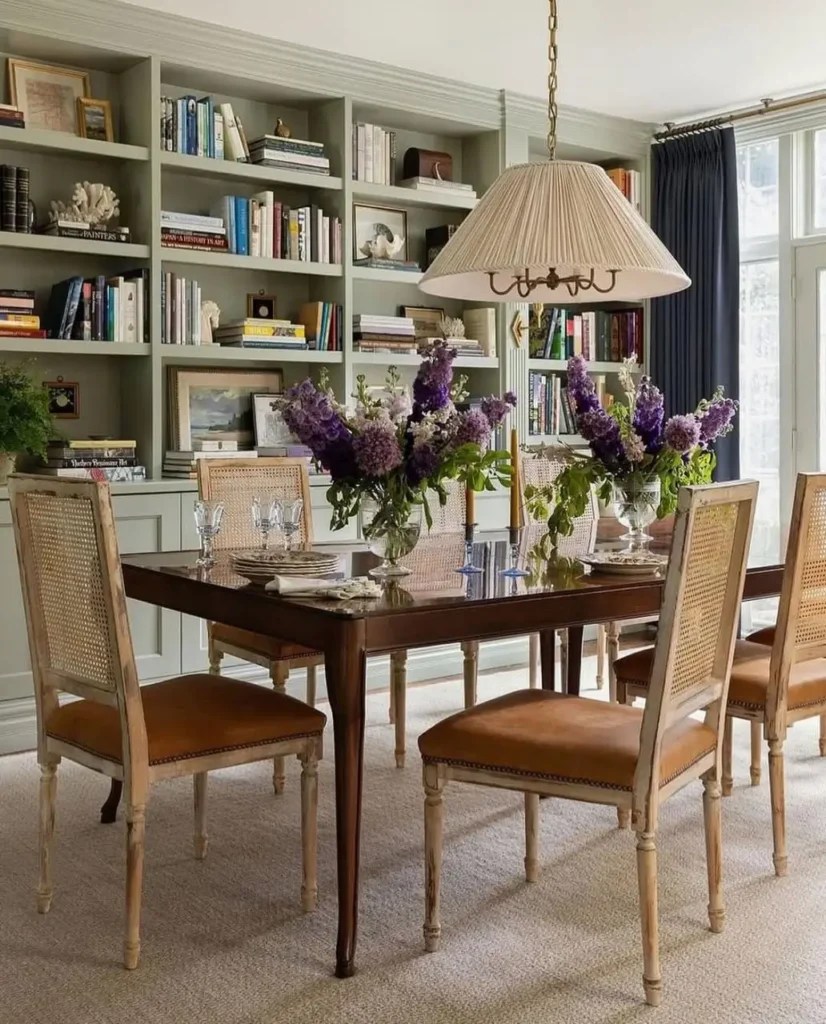
Image Credit: laurenelaineinteriors
Some Extra Pro Tips
Okay, you’ve got the basics—height, spacing, and size—but here are a few extra tricks that can take your dining room lighting from “nice” to absolutely perfect.
👉 Install a dimmer switch.
This one’s a game changer. Bright light is great for family dinners, homework at the table, or board game night. But when you’re hosting a dinner party (or just having a glass of wine with someone special), you’ll want to dial the brightness down to create a warm, cozy vibe. A dimmer lets you shift the mood instantly without swapping bulbs or fixtures.
👉 Choose the right bulbs.
Bulbs make a huge difference in how your dining space feels. Look for warm white bulbs in the 2700K–3000K range—they give off that soft, golden glow that makes food look more appetizing and people’s skin tones look natural. Cool or daylight bulbs (4000K+) can feel harsh, almost like office lighting, which isn’t exactly the mood you want over dinner.
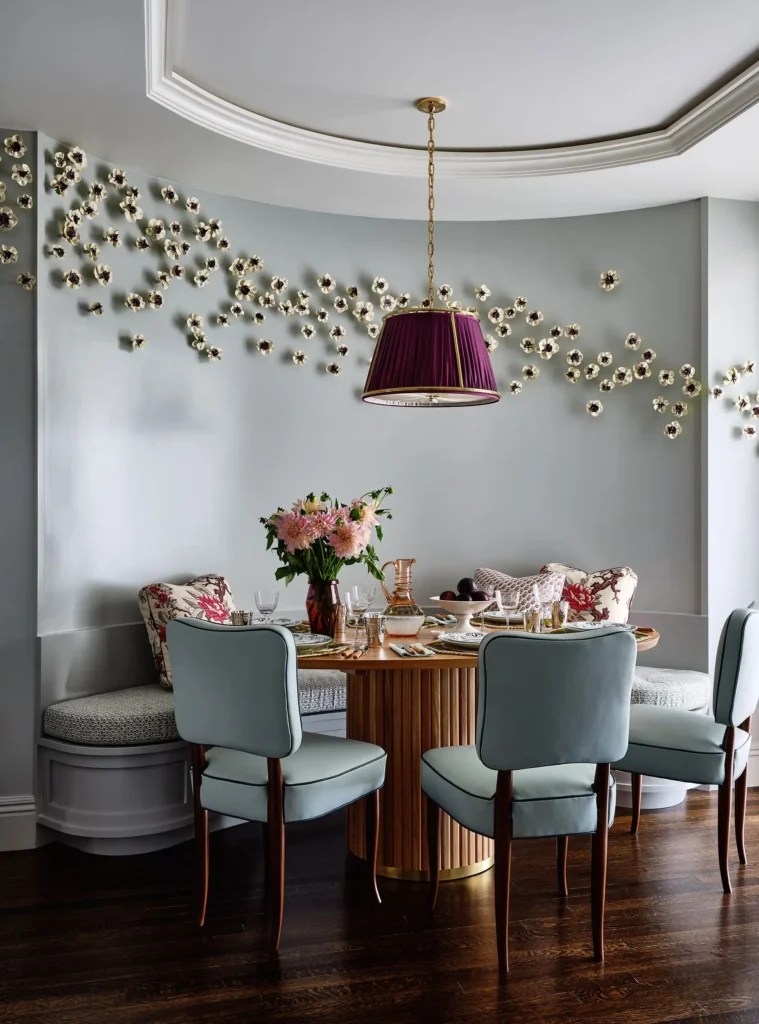
Image Credit: elledecor
👉 Test before you drill.
Nothing’s worse than committing to holes in your ceiling only to realize the pendants don’t look right. A simple trick: hang string or painter’s tape at the height and spacing you’re considering. Step back, sit at the table, and even walk around the room. You’ll get a clear sense of how the lights will feel before you make anything permanent.
👉 Think about alignment.
Lighting doesn’t exist in isolation—it’s part of the bigger picture. If you have a rug under the dining table, or artwork hanging on the wall, make sure your pendants line up with those anchor points. This creates visual harmony and makes the whole space feel pulled together. Even a slightly “off-center” pendant can be distracting if everything else in the room is symmetrical.
👉 My tip: Always check the view from different spots—standing at the entryway, sitting at the table, even looking in from an adjacent room. Pendants are a focal point, and you’ll want them to look great from every angle.
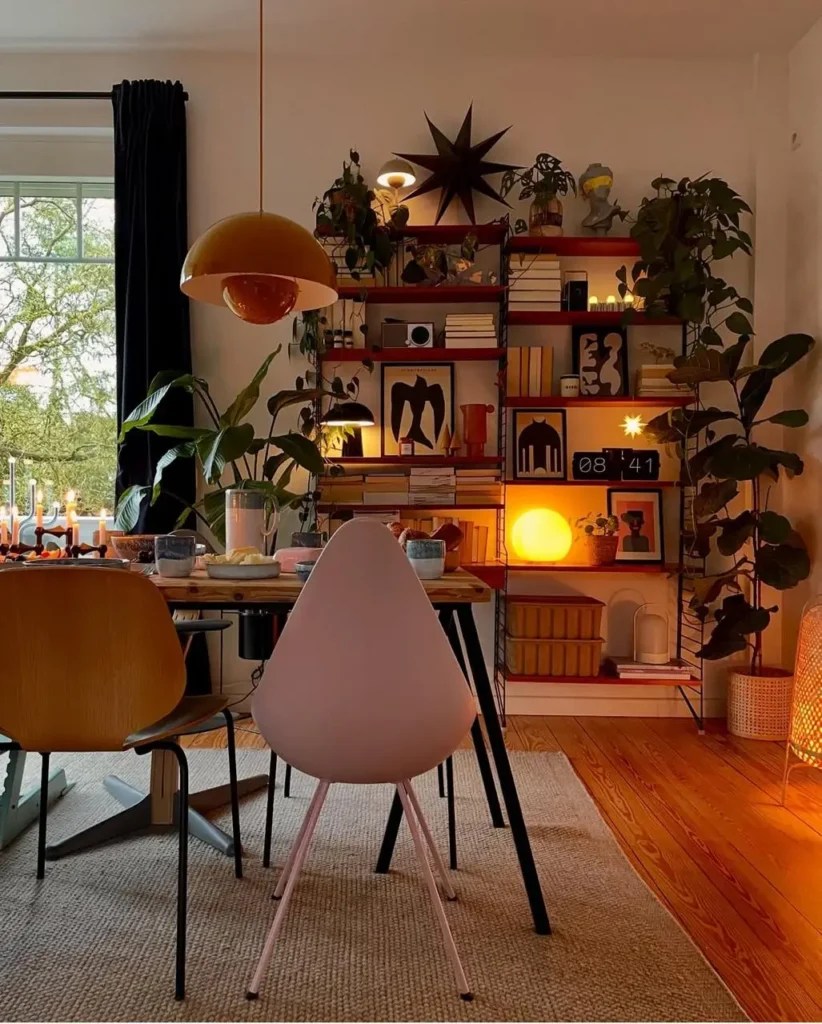
Image Credit: hvillapocket
Common Reader Mistakes (And Fixes)
Even with the best intentions, pendant lights are easy to get wrong. The good news? Most mistakes are simple to fix once you know what to look for. Here are the most common slip-ups I see—and how to solve them.
👉 Hanging the pendant too high
This is probably the number one mistake. If the light is way up by the ceiling, it loses its connection to the table and ends up looking like it’s floating in no-man’s-land. Plus, the light spread may be uneven, leaving the table dim.
- The fix: Lower the fixture so the bottom sits in that magic 28–34 inch zone above the tabletop. It will instantly feel more grounded and intentional.
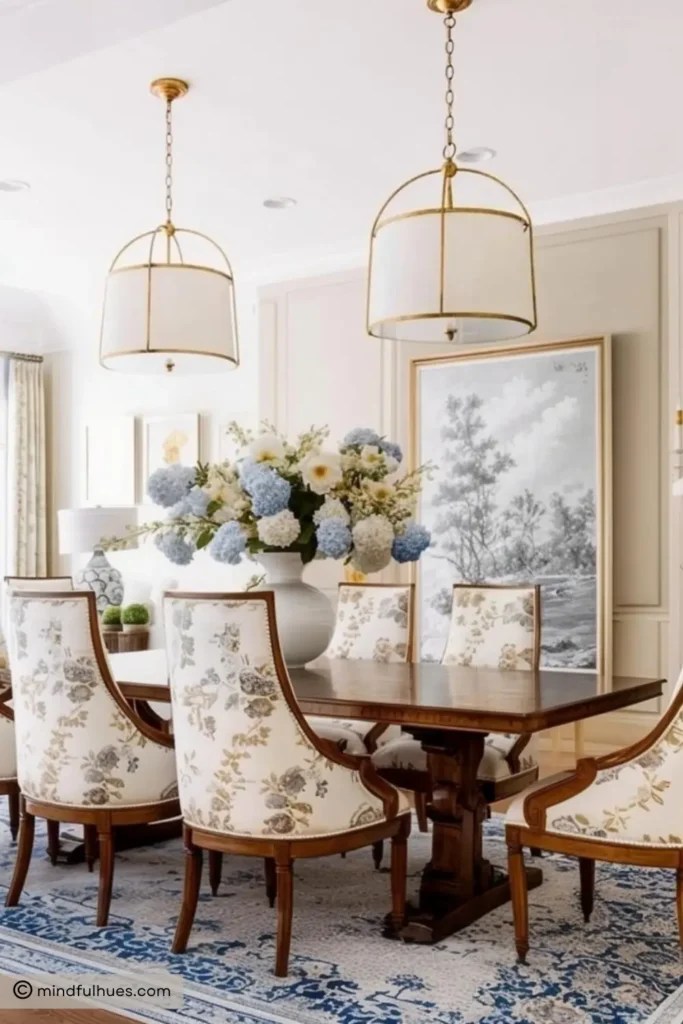
👉 Hanging the pendant too low
On the flip side, pendants that hang too close to the table can feel intrusive. You’ll find yourself ducking to see the person across from you, or worse, squinting from direct bulb glare.
- The fix: Raise it a few inches until you can sit at the table and comfortably make eye contact with someone opposite you, without the fixture blocking your view.
👉 Choosing an oversized pendant
It’s easy to fall in love with a dramatic statement light—but if it’s too big for your table, it can overwhelm the space. Instead of being stylish, it just feels heavy.
- The fix: Follow the sizing rule: the pendant diameter should be no more than half the table’s width. If your table is long, consider two or three smaller pendants, or go with a sleek linear fixture that stretches across.
👉 Forgetting about ceiling height
Ceiling height changes everything. A pendant that looks perfect in a showroom with 9-foot ceilings might feel way too low in an 8-foot dining room.
- The fix: Always factor in your ceiling height when choosing both the fixture and the hanging length. Many pendants come with adjustable cords or downrods, so double-check before you buy. For tall ceilings, don’t be afraid to go a little higher than the standard 28–34 inches to keep things balanced.
👉 Common mistake: Not testing first
Jumping straight to installation without testing height or spacing often leads to regret.
- The fix: Mock it up with string, tape, or even cardboard cutouts. It might feel silly, but it’s the best way to avoid costly “oops” moments.
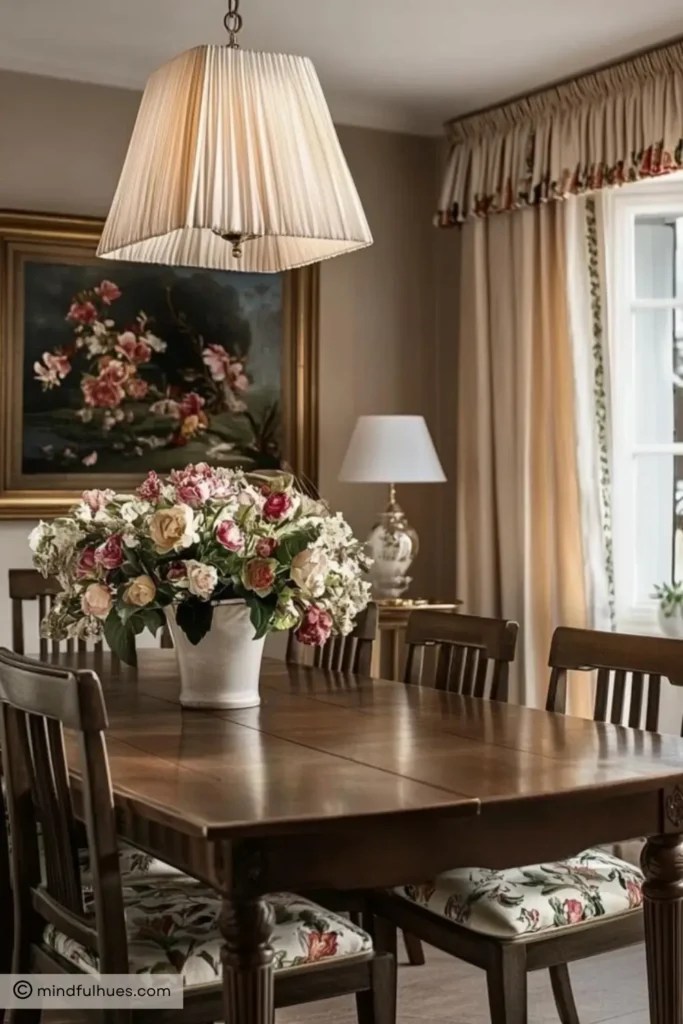
And that’s a wrap! If you’ve been wondering how high to hang your pendant lights (and how to size and space them), I hope this post gave you the clear answer you were looking for. To restate it simply: the sweet spot is 28–34 inches above the table, pendants spaced 24–30 inches apart, and a size no more than half your table’s width. Those three numbers will keep you out of trouble nine times out of ten.
That said, every dining room is a little different. Use these rules as a starting point, then tweak them to fit your ceiling height, table size, and the overall vibe you want in the space. At the end of the day, your dining room should feel both beautiful and comfortable—lighting included.
👉 And if you’re also updating your kitchen, don’t miss my post on how high to hang kitchen pendant lights — it’s the perfect companion guide to this one.
Leave a Reply